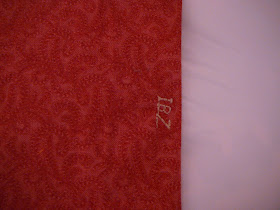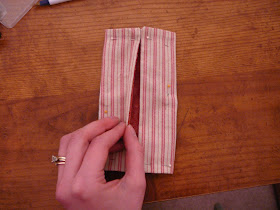


 I've seen these cute little tissue holders before and have always wanted to make some. Why not try it now while I'm feeling crafty and have gifts to give? They're super easy to make and fun to accessorize.
Start out by cutting out 2 rectangles of fabric. You only need two 6.5" x 7" pieces, so it's a good way to use up some scraps. I picked 2 different coordinating fabrics, but you can use the same one for both pieces if you want.
 Pin the pieces together (wrong side out and pretty side in) and saw around with a .25" seam allowance. Leave a space about 2-3" on one of the longer 7" sides so you can flip it inside out later.
 Turn the piece inside out so your nice sides are showing.
 Press all the corners. (Yikes! Can you tell the lighting in my laundry room sucks? Future reno planned!)
At this point, if you want to add any ribbon or trim, sew that on. Your edges don't need to be finished since they will be covered at the end. I just took some ribbon and sewed a straight line along the middle.

On these other ones, you can see how I used the sewing machine to try a few fun things. I put initials on one and a simple pattern on another.


Pick which side you want to face out at the end. Then fold the long sides in towards the middle so that your chosen fabric is on the inside. Overlap the fabric edges a tiny bit.
 Pin your fabric. You can see here how fabric I want to show at the end is still on the inside.
 Sew across the two sides.
 Flip your piece inside out and you can see how the interior fabric will show when you open the case.
Add any embellishments. I sewed little bows on the sides of this one.
Slip your tissue package in and you're done!


No comments:
Post a Comment
I love to hear from you! Please leave me a note!