If you're into craft blogs, I'm sure you've seen this heart wreath all over this year. It's all the rage in the blog world for Valentine's Day 2011! My friend Christina at
Finally Mom asked me to make her one and then a couple more friends requested one as well. How can I say no to my girls? Plus, they're super cute!
I used the tutorial from
The Idea Room with a couple adjustments. It took 4 stores, but I bought out all the heart wreaths at the craft stores nearby.

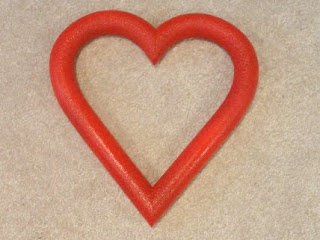
Since the felt pieces will only cover the front of the heart, I spray painted the back side red. It looks a lot better than the white foam sticking out on the sides.
A yard of fabric was enough for me to make 3 full wreaths, so you only need about 1/3 of a yard for one wreath. I used a mug to trace circles on the felt. The diameter of the circles was about 2.5 inches.
How many circles do you need? Lucky you! I counted! I used between 100-115 per wreath. You can always add more, but I think 100 fills it pretty well.

I'd suggest sitting down to watch some tv while you do this because it can be a little monotonous. It works well to switch off between tracing circles and cutting so your hand doesn't get too sore from all the cutting!

Once all the circles are cut, I took each circle and folded it in half. Then I folded it in half again so it becomes a little wedge.

Using a small pin, I inserted it into the corner of the wedge and then into the wreath. I didn't see any other blogs mention this, but I would suggest buying some dressmaker pins that are a little shorter than the standard size. The longer ones might poke out on the back and scratch your door.

Just keep folding and pinning as you go around the wreath. There's so special tip or pattern to doing this. You just adjust and place them as you want.

Once the wreath was completely covered in felt, I turned it over to add a hanging string. I took some red ribbon and tied a knot at one end. Using a few pins, I attached the ribbon to the back.

I love it! It's so pretty on the white door and it's perfect for Valentine's Day!

Some of my other ideas for future wreaths that I may try:
• glitter felt
• using multiple colors for one wreath (red, pink, white)
• adding little accessories like pearls, candy hearts, etc
Happy Valentine's Day!


 This is one of those recipes where the photos don't turn out so well, but it tastes amazing. Bread doesn't look too exciting when you take a photo of it, but this was SO sugary sweet and yummy! It's more like a dessert than a bread, but who cares?!?