Wednesday, October 30, 2013

Pumpkin Cheesecake Shortbread Bars


Here come the pumpkin recipes!  I'm not such a big fan of fall, but I do love me some pumpkin!  I made these for a party recently and may or may not have consumed all the leftovers myself very quickly!  So amazing!

Adapted from All Recipes
Ingredients:
• 1 package pound cake mix
• 3 eggs
• 2 T butter
• 4 t pumpkin pie spice (will be separated in half for 2 different parts)
• 8 oz. cream cheese (softened)
• 14 oz. can of condensed milk
• 15 oz. can of pumpkin puree
• pinch of salt
• 1/2 cup chopped pecans

1. Preheat the oven to 350.  In a large bowl, mix the cake mix, 1 egg, butter, and 2 teaspoons pumpkin pie spice.  The mixture will be crumbly and that's perfect.  Press onto the bottom of a 9x13 pan coated with non-stick cooking spray.

2. In another large bowl, combine the softened cream cheese, condensed milk, 2 eggs, pumpkin puree, the rest of the pumpkin pie spice, and salt.  The original recipe suggests using a mixer, but it worked just fine to use my husband instead!

3. Pour liquid mixture over the crust.  Sprinkle pecans on the top.

4. Bake for 35 minutes or until set.  Store in the refrigerator and serve chilled.


Monday, October 21, 2013

Toddler Spider Handprint Halloween Craft


It's been too long since we've done a fun craft with Connor.  As I started getting ready for Halloween, I came across this idea for spider handprints and I thought he'd really like it.  He's really into spiders right now, so this fit perfect with the holiday!

As usual, we do a lot of our painting in the bathtub so we can clean up easily.  Daddy helped paint his hands black with acrylic craft paint.

I held his hands down for each handprint.

A couple days later, once the paint was dry, Connor used glue to add some googly eyes to the spider.

I added some cute "Happy Halloween" messages, a date, and his name to each one.

I love how each one is a little different and has its own character!


Monday, October 14, 2013

Chickpea Mac & Cheese

We were just joking last night that are house runs on love, laughter, and mac & cheese.  Everyone loves mac & cheese and it always gets gobbled up quickly!  I never hesitate to try a new mac & cheese recipe, especially one with hidden healthy stuff inside! This was my latest dinner creation and we loved it!


Adapted from Current Mom
Ingredients:
• 1 ½ cups pasta (Connor picked out this curly pasta and it worked really well to hold the cheese)
• 1 cup skim milk
• 1 cup canned chickpeas, drained
• 1 ½ cups shredded sharp cheddar cheese (we used low fat)
• 1 tsp salt
• 1/8 tsp garlic powder
• 1/8 tsp paprika

Cook pasta in a large pot according to box directions and drain.

While the pasta is cooking, puree the chickpeas in a food processor until smooth.

Pour the pureed chickpeas and milk into a small pot over medium heat.  Stir until smooth (about 2 minutes).

Add the cheese, salt, garlic powder, and paprika and mix well until the cheese melts.

Pour the cooked pasta back into the large pot and pour in the chickpea mixture.

Mix well and serve.


Friday, October 4, 2013

Finished Basement Theater Room Reveal

This room has been a work in progress for about 1.5 years.  When we bought our house, the basement was unfinished and we just threw all our crap down there.

In July of 2011, when I was 8 months pregnant, we had a bad storm and our basement flooded.  We had about a foot of water and we lost a lot of old memories and things we saved.  After the flood, we learned our lesson about storing things in cardboard boxes and we invested in some heavy duty shelves and totes.


The shelves were the beginning of our new finished basement design and we slowly started working on it.  I am very proud to say that my husband completed this whole job by himself over about 18 months.  It was a LOT of hard work and I tried to help as much as I could (or help by babysitting Connor) while he was working. 

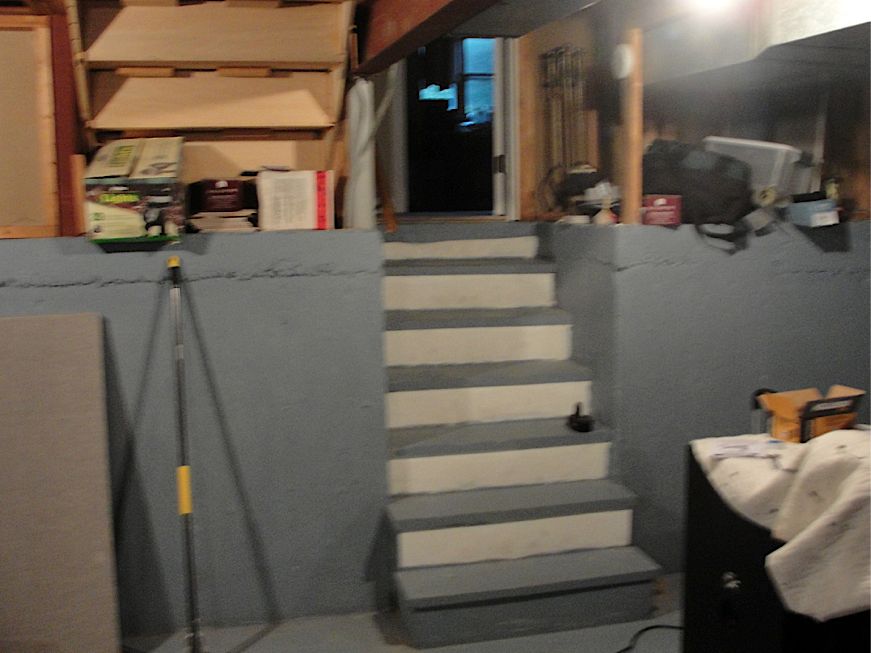
Here are the stairs before we started.

The basic plan was to have the heavy duty shelves on the side and then create an L-shaped storage area that circled around to the back of the room.  The storage area would hold the random crap, the storage totes, furnace, electrical box, and other various things that could be hidden.  The rest of the room was converted into a theater room/man cave/play area for us to enjoy.  The technology and the electronic aspects were designed by the husband and then I chose most of the decorations, colors, furniture, etc.

So after 18 months of hard work, I present to you the new finished basement!

I asked for some small cubbies in the stairway for extra storage and I love how they turned out.

Walk down the stairs and this is what you see...


I'm not usually a fan of leather furniture, but I felt it was the best choice with a toddler and a husband who likes to snack.  The patterned pillows I made make it a little softer and more warm.

The husband requested that we hang some manly theater-type art, so I searched for awhile until I found these theater art pieces from Hobby Lobby.

The screen was my husband's special project.  We have a projector hanging from the ceiling that projects onto the 95 inch screen.  The screen is painted on the wall using a special paint called Silver Screen which is supposed to be the perfect hue for a screen on the wall.  The cabinet was another difficult purchase as we had to find something that fit perfectly in the space and would hold all the equipment.  By making a few alterations to the cabinet once we got it home, we were able to make it work in the room.

The door to the left of the screen is for a little room that holds the sump pump and back-up emergency sump pump.  Hopefully, we will never have to deal with a flood again!

This area isn't as pretty, but it's the computer/gaming area for the husband.  I added my touch with a few baby photos to remind him who's upstairs while he plays!

Here's a better view of the projector on the ceiling and the surround speakers on the walls.

It's pretty amazing to see how this room was transformed in a short time and was all done by us!  From this mess...


...to this amazing room!
Related Posts with Thumbnails