Friday, October 8, 2010

Amazing Bookcase makeover

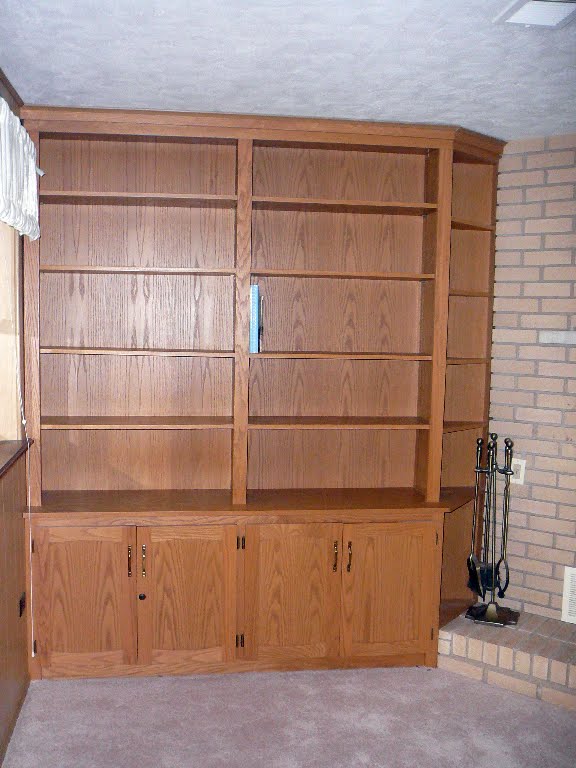
Yikes! This is even embarrassing to post!

Here's our old family room built-in bookcase when we moved in last September. At first, we were going to rip it out entirely, but then we decided it was a great place for storage and we could probably transform it easily.

5 coats of paint and many days of frustration later, here's our painted cabinet.
The next huge task was filling the bookcase. It didn't seem like something too difficult, but once I started adding things, I realized how HUGE it was and how long it was going to take to fill it.

This is definitely a work in progress as I collect more accessories and books to add to it. I change up the little collections every few weeks when they start to bother me!
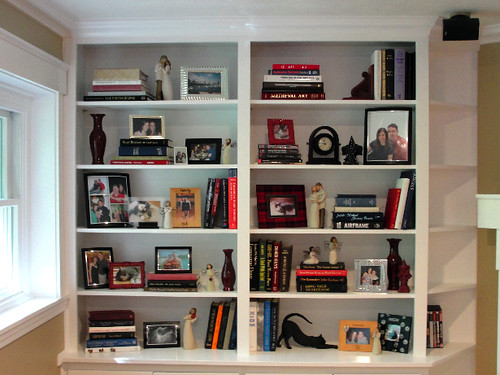
DSC01920

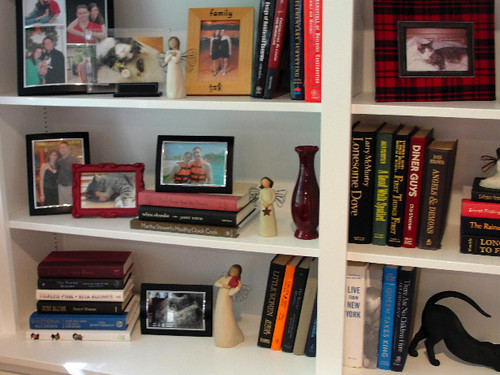
The Willow Tree angel collection was also a challenge. I was really into these in college and right after, but it got to the point where I had way too many and I didn't know what to do with them anymore. I put them in a box for a year and then pulled them back out for the bookcase. My randomly placing angels throughout the bookcase, it's not as overwhelming as the whole collection together.

And no, I'm not PG again. That's our angel from earlier this summer with the Willow Tree figurine my mom gave me the day of the surgery.
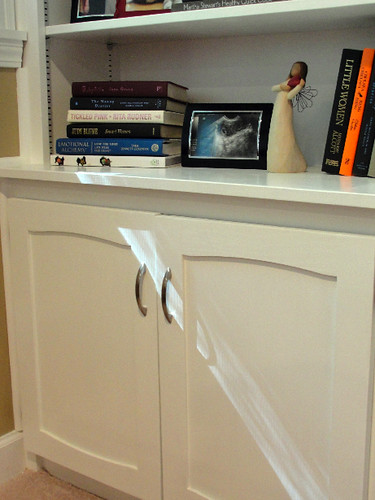
DSC01922

I chose to take the paper covers off all my books and only use hardcover books. I think it looks cleaner, but it also means it's going to take much longer to fill. I usually only buy paperback because I like to fold the books when I'm reading.
DSC01923

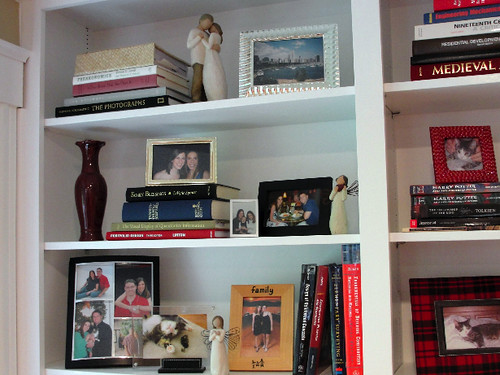
I also tried to keep with the color scheme of the room so all the photo frames match the other accessories in the room.
DSC01924

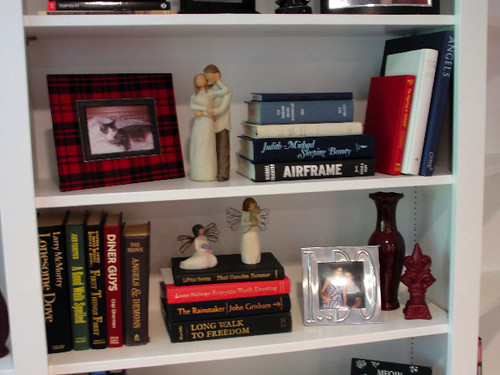
Some of the little accessories and bookends are from my spray paint extravaganza which you can read about here.
DSC01925

Big transformation, huh? We love it!

See the fun parties I'm linking up to here

Wednesday, October 6, 2010

Yummy Corn Dogs

We've been having theme dinners on Wednesday. Why? I don't know, but Hubby started making all kinds of fun food every Wednesday while I'm at kickboxing class. Last week was carnival food night so he made these awesome corn dogs and I wanted to share them with you.

Ingredients:
• 2 cups vegetable oil
• 1 cup yellow cornmeal
• 1 cup all-purpose flour
• 2 teaspoons kosher salt
• 1 teaspoon baking powder
• 1/4 teaspoon baking soda
• 1/2 teaspoon cayenne pepper
• 1 (8.5-ounce) can cream-style corn
• 1/3 cup chopped onion
• 1 1/2 cups milk
• 4 tablespoons cornstarch, for dredging
• 8 hot dogs (we used turkey dogs)
• chopsticks (if you want corn dogs on a stick)

Pour oil into a large pot and heat.

In a mixing bowl, combine the cornmeal, flour, salt, baking powder, baking soda, and cayenne pepper. In a separate bowl, combine the corn, onion, and milk. Add the dry ingredients to the wet ingredients, and stir only enough times to bring the batter together. There should be lumps in the mixture. Set batter aside and allow to rest for 10 minutes.

Scatter the cornstarch into a dry pie pan. Roll each hot dog in the cornstarch and tap to remove excess.

Transfer enough batter to almost fill a large drinking glass. Refill the glass as needed. Place each hot dog on chopsticks, and quickly dip in and out of the batter. Immediately and carefully place each hot dog into the oil, and cook until coating is golden brown, about 4 to 5 minutes. With tongs, remove to cooling rack, and allow to drain for 3 to 5 minutes.


YUM! Not healthy, but very fun! : )

See where I'm partying it up! Go here!

Monday, October 4, 2010

Pumpkins Galore

You can never have too many pumpkins, right?

I already showed you my sports-themed pumpkins (tutorial & pics here),
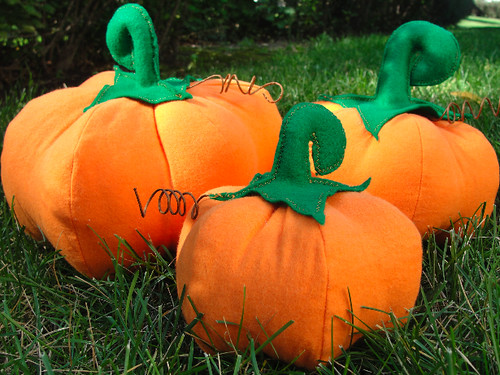
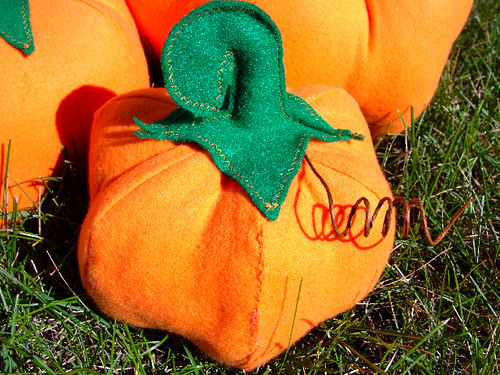
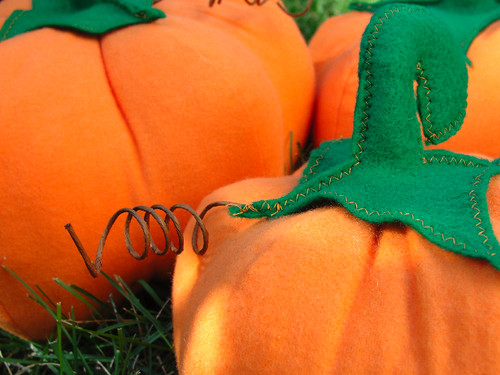
but I had to continue the fun and made these cute orange flannel pumpkins...
DSC02018

DSC01990

DSC02020

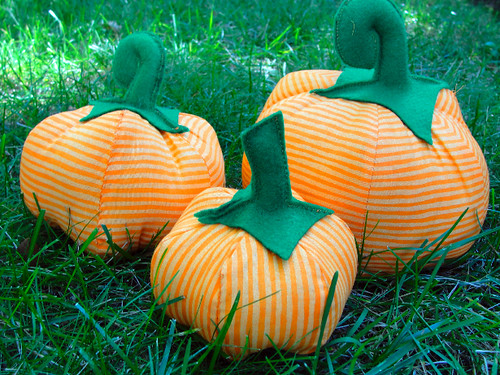
And these pretty striped pumpkins...
DSC02001

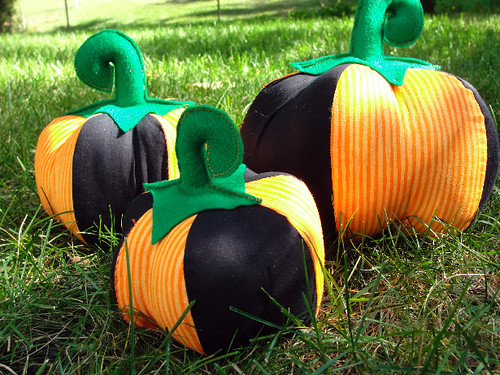
And some Halloween-style pumpkins...
DSC02010

Stay tuned for more pumpkin fun!

See where I'm partying today by clicking here

Friday, October 1, 2010

Fall Fun at Team T

Guess what's back on the door? One of my favorite projects from last fall!

If you like the leaf wreath, go here for some of the other designs I did last year for a craft fair.


This is embarrassing, but kinda cool so I had to share. Back in February, I posted about how I still had a pumpkin from the fall that was still alive and looking nice. I am NOT kidding when I say that we STILL have this pumpkin and it's now a year later!

Once I got past the winter and spring, I knew I had to try to make it until fall. It still looks brand new! Maybe they're genetically altering pumpkins these days or something because I have no idea how a real pumpkin can last this long!

Happy Friday!

Go here to check out the fun link parties I'm participating in
Related Posts with Thumbnails