
 Decorating time in our house! We actually haven't fully decorated for the past three years because our house was on the market for two and then we were still getting organized and moved in last year. I've been collecting random decorations throughout the years and was excited to see everything I had.
Since we're having our first Hanukkah party (see my planning post here), I wanted to decorate for the party. For an awesome centerpiece that I love, I took this bag of dreidels I got for 75 cents at the thrift store and spray painted them in silver.
 Then I mixed them in a glass bowl with silver glittery ornaments I got last year on clearance.
 I love the classic, elegant look and it mixes Hanukkah and Christmas which is perfect for our house.
In the bathroom, I hung up these cute snowman towels I got last year on clearance.

 I also added a snowman to hold the soap dispenser.
The ornament wreath I made last year is back on the door! Go here for the tutorial.
 And here's our version : )
 And speaking of more clearance buys from last year, I got 12 of these pretty napkin rings at TJMaxx and I've been dying to use them.
 I rolled up silver napkins and put them all in a basket for our Hanukkah party.
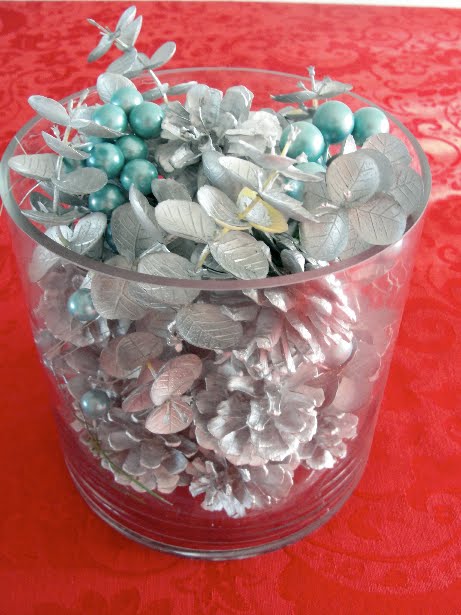
And for another table centerpiece, I filled a glass bowl with silver spray-painted pinecones and blue berries. Again, another good mix of Christmas and Hanukkah to decorate the table.
 We also put up icicle lights outside for the first time ever, but I had to add my light-up menorah to make it even. It looks so nice from outside with our white icicle lights!
 For last year's festive Hanukkah decorations & crafts, go here


