If you haven't noticed the scarf trend, you're living under a rock! They're everywhere! You can never have too many scarves, right?
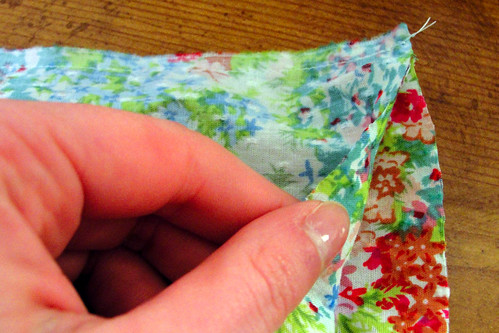
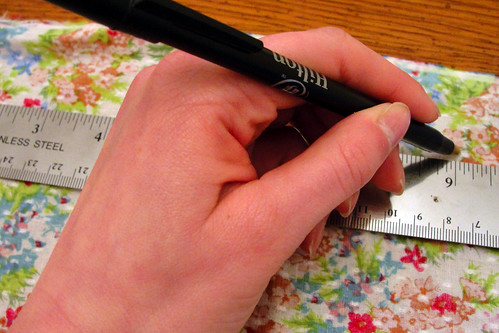
I wanted another springy one, so I found this really pretty linen floral fabric and measured out enough for a scarf. I like mine to be about 70" x 8" so they hang to just the right spot. And yes, I do use a pen to mark my fabric. I know this is horrible, but I've been doing it for years. Time to invest in a fabric pencil!
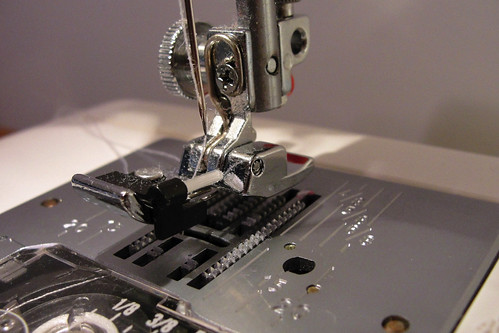
To keep the edges from unraveling, I used a running stitch along the long edges of the fabric. I just discovered this special foot just for this purpose and it worked really well to keep the fabric in place.
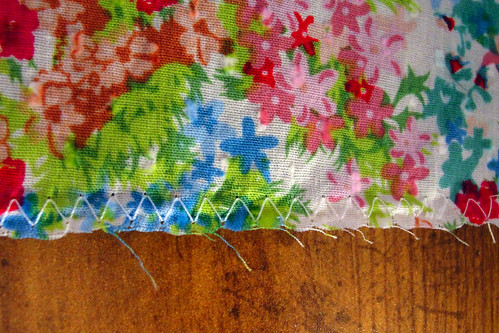
Here's my stitches. I love the small amount of unraveling to add some texture, but not too much that it falls apart.
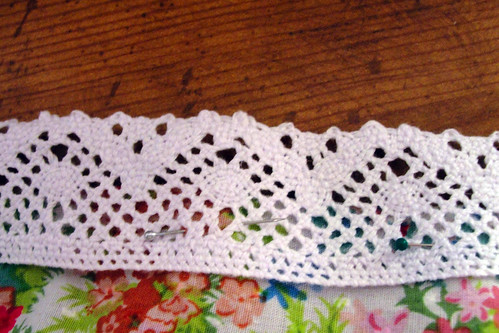
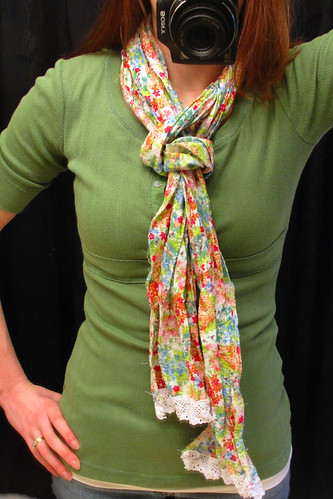
Then I cut some pretty white lace for the edges and sewed them to the scarf.
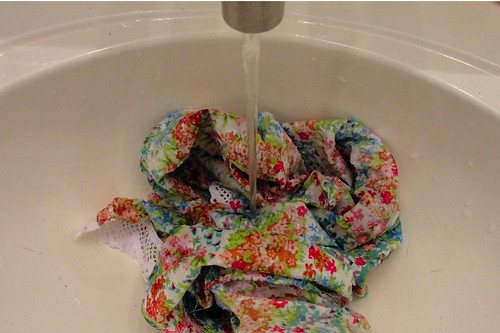
Now here's the fun part! In order to get the crinkled look, I lightly rinsed my scarf in cool water. (I know I read about doing this on another blog, but I can't remember where. Let me know if it was you!)





As always your are too cute and too crafty!!! I really like the lace detail at the end. And there are so many differnt colors of shirts you could wear that with. Very nice.
ReplyDeletea how CUTE!!
ReplyDeletepopping over from Trendy Treeouse :)
Very cute! Thanks for the wrinkling tip as well.
ReplyDelete-Crystal
Lovely! Great fabric and I love the tip about soaking it and leaving it to dry twisted up. Thanks!
ReplyDeleteI agree!!! I love it! And the fabric is beautiful! Thanks for sharing!
Deletehttp://mysupercreativecorner.blogspot.com/
That looks great! I love it! I need one of those feet for my machine. What's it called? Love the fabric. I'm inspired. Might have to make a summer one for myself! CUTE!! Thanks for sharing!
ReplyDeleteHi Lisa!
ReplyDeleteI’m following you now on Follow Me, Chickadee, Friday! Please follow me back on my blog “Inspire!”
Ron
http://inspiredbyron.blogspot.com/
super super cute!
ReplyDeletethat's my kind of craft... and you did a great job. i had never heard of that water tip before... good info. (-:
ReplyDeleteI found you from Follow Friday network,Thanks for sharing nice blog.
ReplyDeleteNow I'm follow you, if you have chance Please follow back at;
http://beonefineday.blogspot.com/
http://theblogfrog.com/1233755
Have a nice day.
Nan
Scarves are definitely coming back into style. I like your finished product!!
ReplyDeleteWow! I love this!
ReplyDeleteThank you for sharing!
Leticia
Another great tutorial! I love the photos. You make it look so easy :)
ReplyDeleteVery cute. I love the fabric you picked.
ReplyDeleteI’m having a new link party “Cheap Thrills Thursday” starting tomorrow. It’s for creative ideas that cost under $20. If you have a project you’d like to share, I’d love for you to stop by and join in!
Kat
www.BlackKatsDesign.blogspot.com
Thanks for an easy and cute pattern!
ReplyDelete~Simi
www.deceptivecadencephotography.blogspot.com
What is the name of the foot you used when zigzagging the edge of the fabric so it wouldn't fray too much? I'm a beginner. Thanks! :)
ReplyDeleteIt's hard to tell from the picture but I would use a rolled hem foot, it makes a beautiful edge that doesn't fray at all, useful for those chiffons that never stop raveling! Can anyone tell me how to make the knot that was used in the picture?
ReplyDeleteAnnette, it's really easy to make the knot! Fold the scarf in half and then wrap it around your neck. Take the two ends and slip them through the loop at your neck. Pull tight and that's it!
Delete