
 I've been spending a lot of time in my craft room, but I knew it was missing something important...a tissue box! And you can't just have a normal tissue box in the craft room either...it has to be pretty!
I used the extra fabric from the bed set since I don't need bed skirts for the trundle beds.
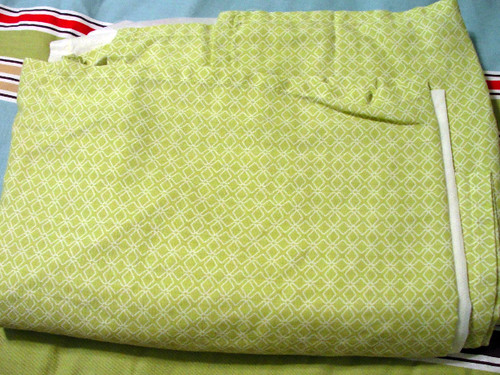
Since there are a zillion different sizes of tissue boxes, I decided to make this tutorial generic so anyone can adjust it to fit their box. To start, I measured the length and width of the box, added 1 inch to each dimension and cut out pieces of fabric and matching interfacing.
 I'll start with the ruffled top and get back to the interfacing in a bit. First, I drew a diagram to decide where to make the hole for the tissue to come out. It can really be any size you'd like. Then I cut out the hole so the pen marks are now gone. (Yes, I draw on fabric in pens...those of you who follow me know that I like to do this!)
Going lengthwise, I divided the piece of fabric into 5 even sections and marked them.

Using the longest stitch width, I sewed a straight stitch lengthwise along the 4 lines that I drew.

Be sure not to backstitch on these lines as you will need to pull on the threads to create ruffles.

Lightly pull on each thread and push fabric towards the center. This will create the ruffles.

Once all the ruffles have been created, I pinned the ruffle piece on to the interfacing.

Going back to a normal stitch on the machine, I sewed over the ruffle lines with a straight stitch to attach the ruffled piece to the interfacing.
 Then I cut a hole in the interfacing to match the size created by the ruffle piece.
To finish the edges, I folded these little pieces to add as trim.
 It was simple to pin them to the edges and sew them on.
I used a zigzag stitch to attach them.

And now back to the interfacing and the rest of the box. You should have fabric and matching interfacing for the other 4 sides of the box. I ironed all 4 pieces onto interfacing to make them more stable.

Once ironed, you'll have 5 pieces to make the box cover.
 Pin sides to top piece with right sides facing in and sew with a .25 inch seam.
Once the sizes were attached, I put it on the tissue box and hemmed the bottom so it was just the right height.

Then I sewed the bottom hem to finish off the edge.

And here's the finished box cover!


Wow...those ruffles are hard work!! Great job! Thanks for visiting me at my blog!! Come back soon!
ReplyDeleteVERY pretty! love the color of the fabric and the ruffles!
ReplyDeleteGreat tutorial!!! The pictures are very helpful.. Thank you for stopping by my blog and for yout comment. I am now a new follower to your blog!!
ReplyDeleteThis is adorable. I've made a few and I could kick myself....I have never thought of making the hole small like yours. I love it. I have always just mirrored the size of the hole in the box! Ha! I just had a V8 moment! I love your ruffles as well.
ReplyDeletesuper cute idea and love that fabric!
ReplyDeleteVery cute Lisa! I've never made one of those before. I'd probably go nuts before I got it all done. The ruffled top is precious! Great job!
ReplyDeleteI love it! I found you over at the blog hop and I'm your newest follower! Come by Sassy Sites! xoxo
ReplyDeletewww.sassysites.blogspot.com
So clever! So many times I see covers for the smaller boxes but never the longer larger box.
ReplyDeleteGreat job :D
What a great idea!
ReplyDeleteThank you so much for sharing your tutorial at the DIY CRAFT TUTORIAL linky party at http://www.FineCraftGuild.com
ReplyDeleteI love this idea, and what a detailed tutorial, thank you!
Hope you also found some tutorials in the party for projects that interested you ...
See you back next Wednesday, we hope, and meanwhile, have a creative week,
Rose
Cute Idea! Thanks for sharing.
ReplyDeleteSuzie @ staycalmandsewsomething.blogspot.com
great idea.Fantastic job
ReplyDeleteLove it...and ruffles...I love ruffles...especially from the same lady who makes footballs!
ReplyDelete