The baby boy nursery is finally done! It's been such a fun experience to renovate the room and come up with crafts to personalize the space. Hubby and I spent so much time this summer trying to make it perfect for our little boy.
(See the list at the bottom of the post for tutorial links and where I bought things) First, let's go back to the room before when it was just for storage and random crap...

The nasty mirrored closet doors and icky 80's blue blinds are horrible!

Old ugly trim and doors...and Kitty taking a look!

To this little baby haven!

So let's start out at the door with the new 6-panel door and updated white trim. We painted the room in light yellow with a blue border around the top.

I couldn't resist this cute door hanger for 50 cents from the thrift store

We bought white wood blinds with a valance for the windows. Curtains are just too much of a mess with a hairy cat! The white dresser will have the changing pad on top and we can look out the window as we change diapers.

The white wall shelves in the corner are perfect for showing off future baby photos, heirloom books, etc. The lip on the edge is great so nothing falls off. The frames were thrift store purchases that I painted to match.
(See the sock monkey and crayon frame tutorials at the bottom of the post.)

Ah, the glider. Sadly, this glider decision stressed me out more than anything! I had the hardest time picking one that was comfortable, cheap, and matched the room. After hours spent at baby stores, I took a risk and ordered this one online. Who knew it would match perfectly? We love it and it was a lot cheaper than those baby store gliders.
The lamp was also another struggle. Of course, I needed white to match, but it's pretty hard to find a white floor lamp. After some searching, I found one, but it came with a pink lampshade. I figured it would be super easy to find a blue or red lampshade to replace it with. I was wrong! Apparently, colored lampshades are harder to find than I thought! I gave in and decided to cover a white one in fabric...until I put the white one on and realized I just liked it plain white!

The wall letters were a fun project that Hubby and I worked on together. It's a little twist to the normal wall letters because we hung them on drawer knobs.

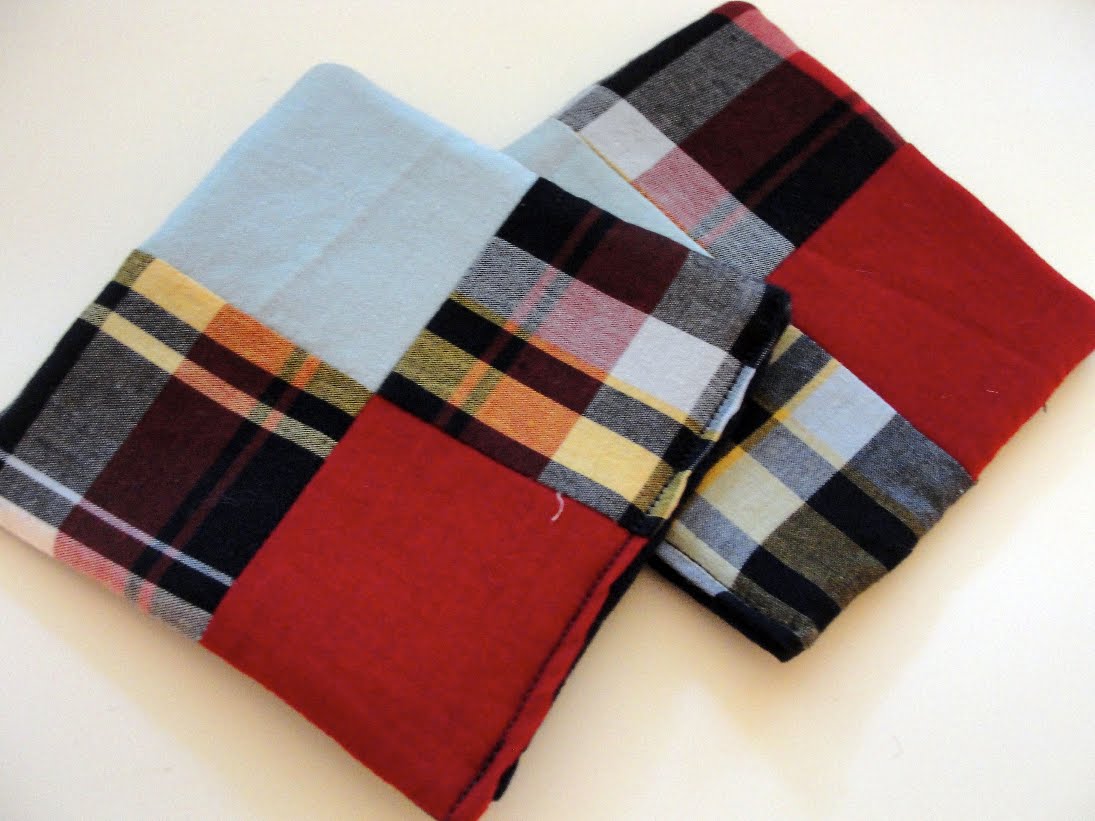
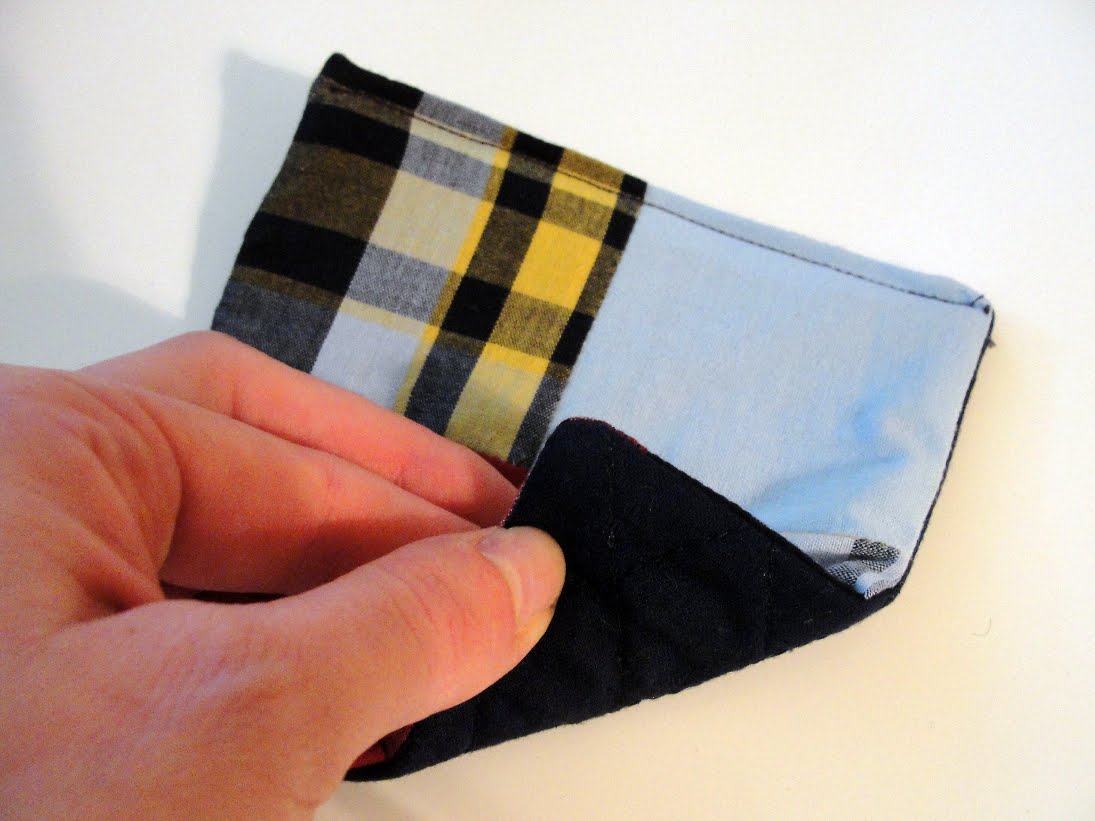
I love the bedding we picked! I never would have thought this would be my choice, but I got really into all the preppy boy stuff I saw in the stores. I love that it's not super masculine, but it's still cute and really soft. It's been fun to be able to make pillows to go with it also. The embroidered C pillow and the patchwork one pictured above were some of my fun crafts from the summer.

Did you happen to catch the old light that used to be here? It looked almost like a spotlight and the lightbulbs made the color in the room horrible. I picked out a white fan to replace it.

So maybe we're bad parents, but yes, we have a tv in there. I admit to being a tv addict, so Hubby convinced me that we would want one in there if I'm going to be spending a lot of time nursing and sitting in the glider. We plan on taking it out later when the baby knows what it is.

Wall art was really hard to find because we don't really have a theme in the room. I saw these pieces and I knew they would match perfectly!

After our baby shower, I realized we would probably need somewhere to store books and toys. We found this small shelf set and bought some canvas storage cubes to hold toys.

Remember those nasty mirrored closet doors? Now we have 6-panel white doors to match all the doors in the house.

Nothing too exciting in the closet, but there's lots of room for baby stuff! We got very lucky that our house had Elfa already in the bedroom closets when we moved in!

And our growing collection of baby clothes...

So there it is! We're so excited to have it done and ready for baby to come home to!
Yellow paint - Behr Pale Honey
Blue paint - Behr French Court
Baby furniture - Babies R Us Baby Cache collection
Glider & ottoman - Target Danielle glider & ottoman
Floor lamp - Target (comes with a pink gingham shade that we changed)
Bedding - Babies R Us Bacati Boys Stripes & Plaids
White storage shelf & colored storage cubes - Target
Wood Wall letters - Joanns
Framed wall art - Hobby Lobby
Tutorials:
Crayon Name Frame
Patchwork Pillow
Embroidered Initial Pillow
Sock Monkey
Wall letters - coming soon!

 I'm kind of obsessed with making softies (stuffed animals) so I couldn't resist this cute stuffed dinosaur I found while blogging one day. I adjusted mine slightly by using ribbon loops for taggies instead of her fabric scales. I also added some small jingle bells inside so it rings when you shake it.
 Not sure where I like it best in Connor's room, but I'm sure it won't be displayed for long!