Showing posts with label wall art. Show all posts

Friday, July 18, 2014

Caylee's Room Reveal!

Since she came 2 weeks early, we still had a little bit to finish up after she got home.  We finally put the finishing touches on the room and I'm excited to show it off!

Connor has a little door hanger on his door, so I felt like she should have one too.

The name banner was a big ordeal, but I'm happy with how it turned out.  I spent a long time looking for the perfect way to display her name on the wall and I wanted something unique.  For a few months, I was planning on doing a tree branch with birds and the letters hanging down, but it just didn't end up working with the design of the room.  When I found these personalized felt banners, I knew it would be perfect!

The paisley bedding was another challenge because Daddy and I didn't agree on what to get.  I usually pick out all the little home details, but he had more of an opinion on this.  He finally gave in and let me get my favorite paisley bedding and I love the use of aqua for little girls.  The polka dot accents worked really well as an accent pattern that I used throughout the rest of the room too.  The sad part is that when we went to put the bumper on (just for show, not for her to use now), it didn't fit!  The mattress height along with the height of the bumper doesn't work with the crib.  Once we lower the mattress, it will fit, but I'm sad that it doesn't work right now unless I try to revemp it myself.

The wall art was really hard for me to find because I wanted something that matched and worked with the proportions of the walls.  When I saw these girly animal canvas pieces, I knew they would be perfect.  The borders actually have the polka dot borders and that sealed the same for me.  There are bird and elephant accessories in her room, so the animals fit in well too.


Moving on, I added the yellow rocker and floor lamp from Connor's room.  I also got the same wall shelves that he has to display some special photos and trinkets.

I'm waiting to get newborn photos back to put them in the frames, but I also added her first doll from Grammy and Grandpa and the embroidered name sign I made (see below).

I'm so happy with how this turned out! I had a vision in my head and it came out exactly how I planned!  The bunting is made from little scraps of fabric and the name and bunting ribbon are embroidered by hand.


The pillow on the chair was another DIY project that I worked on while pregnant.  I picked up the polka dot accent pattern and sewed a felt flower on top.


The bookshelf is the same one Connor has, but with a girly flair.  I picked up light pink and hot pink storage totes and filled them with some toys and bedding.  Most of the little trinkets are gifts that she got from family & friends, so it's nice to be able to have a place to display them.


The bookends were a bargain at $2!  They were broken and didn't match, so I fixed them with some wood glue and repainted them to match the bedding.

In the other corner, we added the long dresser with the diaper changing pad.

The bird photo frame wall hanging was another great bargain I found.  I bought it for $4 and added new white ribbon to match.

A labor of love and many months of work came together to make the perfect room for our little girl!

Paisley bedding: My Sam Pixie from Kohls, Target, Babies R Us
Pink polka dot changing pad cover: Target
Elephant bookends: Homegoods and DIY
Name banner bunting: Deco Mod Walls on Etsy
Cupcake door hanger: Garden Ridge
Canvas wall art: Gordman's
Bird wall frame: Ross
Bird cage pillow: Homegoods
Flower pillow: DIY


Friday, October 4, 2013

Finished Basement Theater Room Reveal

This room has been a work in progress for about 1.5 years.  When we bought our house, the basement was unfinished and we just threw all our crap down there.

In July of 2011, when I was 8 months pregnant, we had a bad storm and our basement flooded.  We had about a foot of water and we lost a lot of old memories and things we saved.  After the flood, we learned our lesson about storing things in cardboard boxes and we invested in some heavy duty shelves and totes.


The shelves were the beginning of our new finished basement design and we slowly started working on it.  I am very proud to say that my husband completed this whole job by himself over about 18 months.  It was a LOT of hard work and I tried to help as much as I could (or help by babysitting Connor) while he was working. 

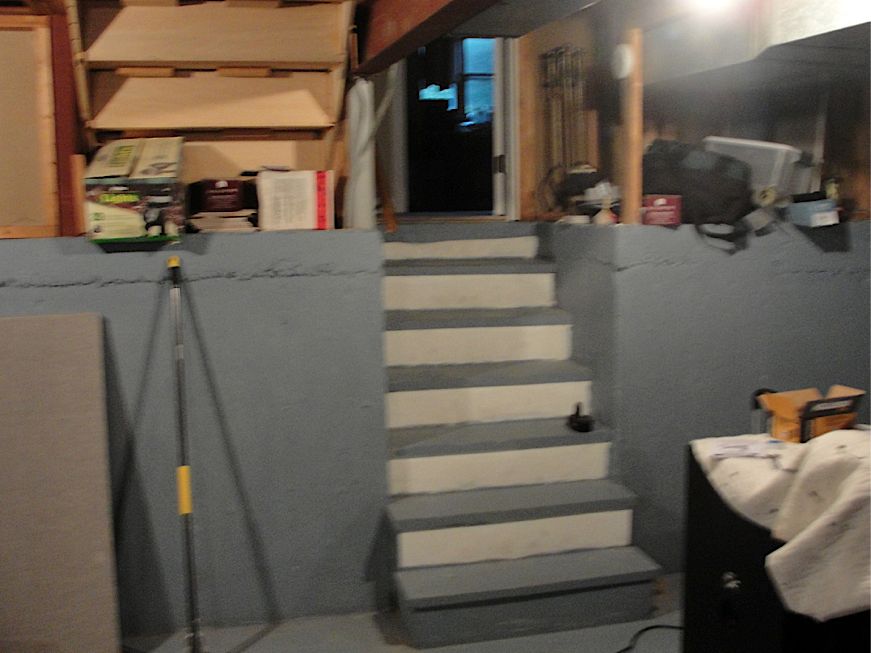
Here are the stairs before we started.

The basic plan was to have the heavy duty shelves on the side and then create an L-shaped storage area that circled around to the back of the room.  The storage area would hold the random crap, the storage totes, furnace, electrical box, and other various things that could be hidden.  The rest of the room was converted into a theater room/man cave/play area for us to enjoy.  The technology and the electronic aspects were designed by the husband and then I chose most of the decorations, colors, furniture, etc.

So after 18 months of hard work, I present to you the new finished basement!

I asked for some small cubbies in the stairway for extra storage and I love how they turned out.

Walk down the stairs and this is what you see...


I'm not usually a fan of leather furniture, but I felt it was the best choice with a toddler and a husband who likes to snack.  The patterned pillows I made make it a little softer and more warm.

The husband requested that we hang some manly theater-type art, so I searched for awhile until I found these theater art pieces from Hobby Lobby.

The screen was my husband's special project.  We have a projector hanging from the ceiling that projects onto the 95 inch screen.  The screen is painted on the wall using a special paint called Silver Screen which is supposed to be the perfect hue for a screen on the wall.  The cabinet was another difficult purchase as we had to find something that fit perfectly in the space and would hold all the equipment.  By making a few alterations to the cabinet once we got it home, we were able to make it work in the room.

The door to the left of the screen is for a little room that holds the sump pump and back-up emergency sump pump.  Hopefully, we will never have to deal with a flood again!

This area isn't as pretty, but it's the computer/gaming area for the husband.  I added my touch with a few baby photos to remind him who's upstairs while he plays!

Here's a better view of the projector on the ceiling and the surround speakers on the walls.

It's pretty amazing to see how this room was transformed in a short time and was all done by us!  From this mess...


...to this amazing room!

Wednesday, April 17, 2013

Painted Bathroom Rules Signs

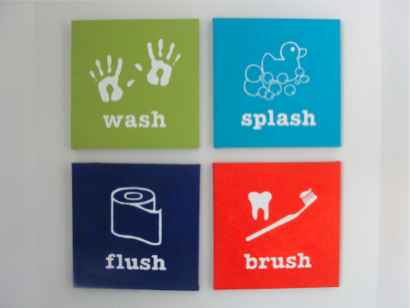
Now that Connor is getting to be a big boy, I'm starting to plan for the future.  He's going to be taking baths in his own bathroom and learning to brush his teeth.  We plan on renovating his bathroom/guest bathroom eventually, but for right now, I wanted to make it a little more fun and colorful for him.  I love the bathroom rules signs I've seen and he's going to be at the perfect age to start learning these things soon.

I printed out some simple images with text that I thought would look cute on the signs.  (Please forgive my crappy photos. The lighting must have been really bad when I was working on these.)  I bought four 12" x 12" canvases to transfer the art on.

This is my secret way to transfer art.  I take a pencil and scribble over the back of the paper that has the design on it.

Then I place the paper right onto the canvas and center it exactly how I want it to be.  Then, I use a mechanical pencil without the lead to trace around the design.  When I lift the paper, the design will be transferred onto the canvas!
I spent many, many hours watching tv and painting three coats on each canvas to make them really bold, but it was worth it!
I love how they turned out!
And since I'm matchy-matchy, the shower curtain colors go perfectly with the art.

And the comfy green rug matches too!
  I can't wait for Connor to use his new, updated bathroom!

Monday, June 4, 2012

Craft Room Reveal

This room was been a work in progress for about 2 years and then I suddenly realized I never shared it with you! If Hubby can have a man room, I get a craft room, right? It also doubles as a guest room when people stay over, but I can share : )

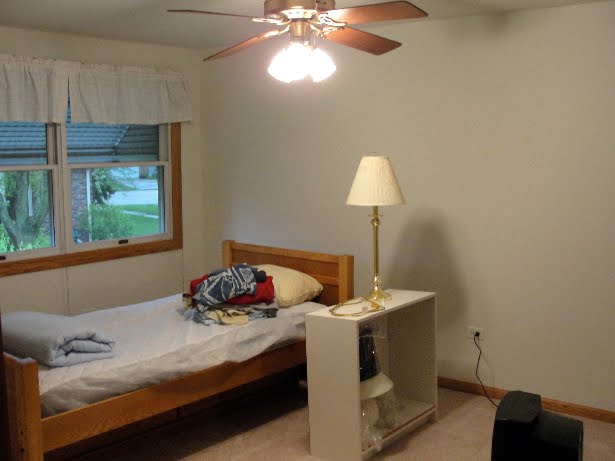
Here's what the room looked like before. Nasty window treatments and just a place to hold random crap that didn't have a home.
It was hard for me to do crafts in such an icky room!

Goodbye ugly old fan!

Hello bright and colorful room! My vision with this room was fun & energetic with lots of bright colors. It's the only room in our house that's girly and filled with color.

The striped bedding was the influence for the rest of the decor. The curtains are actually made from the bedskirt fabric that came with the bedding set. Since we have trundle beds, we didn't need the bedskirts, so I recycled them into fun curtains. See the tutorial for this style of curtain here.

This bookcase is a leftover from college, but it works perfectly as a nightstand. A lot of the items here are fun crafts I worked on during the past year.
Easy Fabric-covered lamp shade
Flowers in a Coffee Mug
Fabric Tissue Box Cover
Mini Canvas & Easel

I love all the fun throw pillows that coordinate with the bedding. I couldn't resist buying them!

No craft room of mine is complete without a tv because we all know I'm a tv addict. The dresser is a hand-me-down that my sister got and then it was passed to me and begging for a makeover. It was ugly & brown so we repainted it a couple summers ago.
Here's the sewing area and my little chair cushion makeover. The chair cushion was refashioned from a throw pillow I bought for the bed.

Dorky, but I love our new closet doors! These used to be ugly mirrored doors that made the room look so dated. We updated all the hallway doors to white 6-panel doors, so we decided to coordinate all the closets too.
Not everything in those closets is for crafts (I also keep some older clothes in there), but about half is filled with supplies and I love having them out of the way. The removable labels
were a fun project I did last summer and, of course, they match the bedding too!


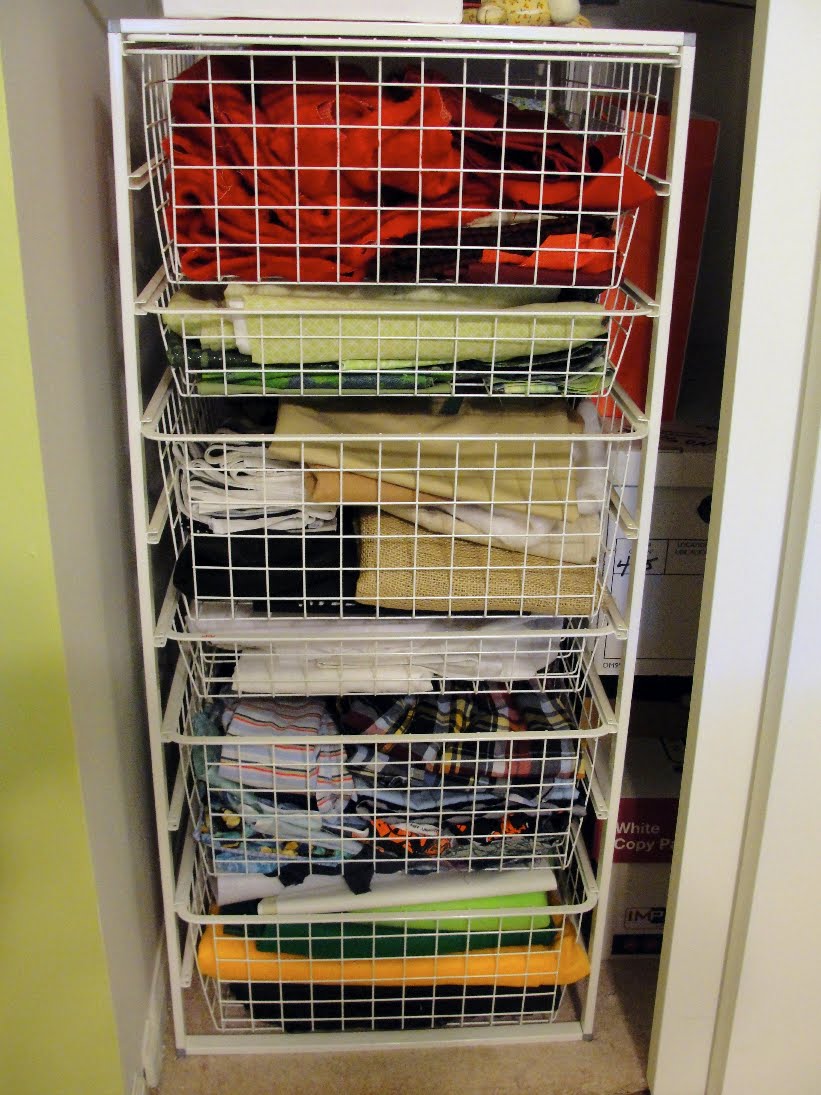
Our closets had the Elfa system in them when we moved in, so these wire drawers are perfect for storing fabric. It's so nice to have it all organized instead of in piles and boxes!

So this is my little girly hideout and I love it! It's so fun to work in there with the sun shining in, Kitty sleeping on a bed, and I can watch tv while I work!
Related Posts with Thumbnails