Showing posts with label door. Show all posts

Thursday, June 11, 2015

Vintage Circus 1st Birthday Party

Can you believe my baby girl is 1 year old already?


These parties get harder and harder with 2 kids and working full time, but we pulled it off!  I could have done so much more, but I just had to draw the line somewhere for my own sanity.  The decorations came out super cute, the food was good, and everyone had a great time!

DIY party hats with a special one for the birthday girl


Let's just go right to her wearing it because it's too darn cute...she was so upset that she had to wait for cake!


The front hallway with her 12 month calendar photos, party blowers, and circus animal crackers as the balloon weights


Close-up of the party blowers


Front door sign

Back door leading to the backyard...
A couple hours before the party started, we ended up moving a lot of things outside because the weather was beautiful!


Happy Birthday banner in the kitchen


Party hats for the kids

Banner of monthly photos with her baby doll


Cards for the guests to write memories and advice for Caylee.  Everyone wrote the cutest messages for her! (I did this for Connor too, and I love that we can save them for him to look at when he gets older)


The snacks were also an important part of the vintage circus theme.  Everyone pigged out on circus peanuts, gummy bears, candy buttons, popcorn...

Cotton candy, Cracker Jack, animal crackers, etc...

We also had soft pretzels with cheese dip, hot dogs & turkey dogs, and some everyday food too.  Most of it got eaten before I got to take photos!

Caylee absolutely loved her first taste of cake and ended up with half in her tummy & half in her hair!

Connor was a great big brother and helped her blow out her birthday candle!

 It's so hard to believe it's been a year since she was born.  She's gone from a little newborn to a big girl in such a short time! But thank goodness this party is over now...I'm ready to enjoy the summer!


Friday, October 4, 2013

Finished Basement Theater Room Reveal

This room has been a work in progress for about 1.5 years.  When we bought our house, the basement was unfinished and we just threw all our crap down there.

In July of 2011, when I was 8 months pregnant, we had a bad storm and our basement flooded.  We had about a foot of water and we lost a lot of old memories and things we saved.  After the flood, we learned our lesson about storing things in cardboard boxes and we invested in some heavy duty shelves and totes.


The shelves were the beginning of our new finished basement design and we slowly started working on it.  I am very proud to say that my husband completed this whole job by himself over about 18 months.  It was a LOT of hard work and I tried to help as much as I could (or help by babysitting Connor) while he was working. 

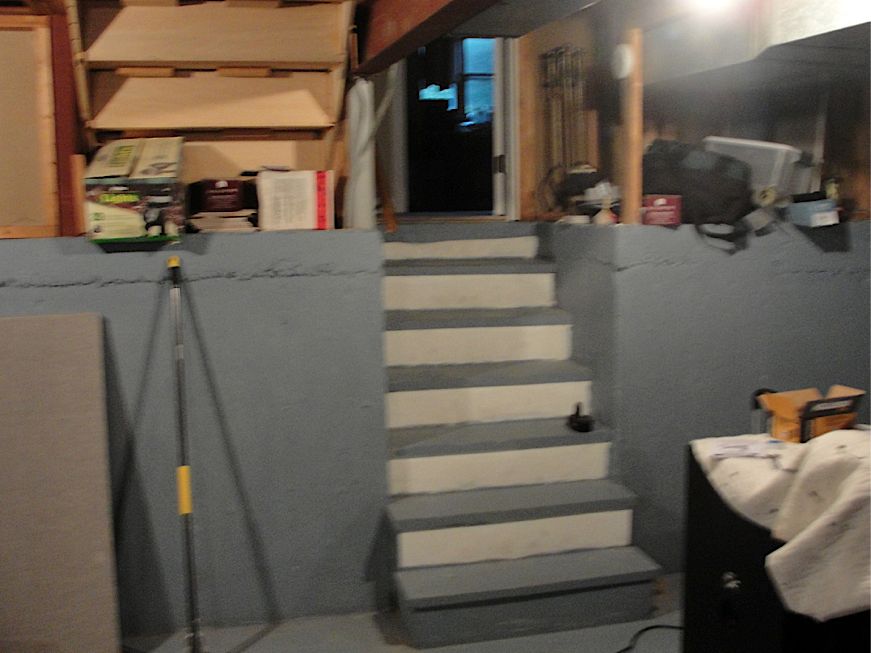
Here are the stairs before we started.

The basic plan was to have the heavy duty shelves on the side and then create an L-shaped storage area that circled around to the back of the room.  The storage area would hold the random crap, the storage totes, furnace, electrical box, and other various things that could be hidden.  The rest of the room was converted into a theater room/man cave/play area for us to enjoy.  The technology and the electronic aspects were designed by the husband and then I chose most of the decorations, colors, furniture, etc.

So after 18 months of hard work, I present to you the new finished basement!

I asked for some small cubbies in the stairway for extra storage and I love how they turned out.

Walk down the stairs and this is what you see...


I'm not usually a fan of leather furniture, but I felt it was the best choice with a toddler and a husband who likes to snack.  The patterned pillows I made make it a little softer and more warm.

The husband requested that we hang some manly theater-type art, so I searched for awhile until I found these theater art pieces from Hobby Lobby.

The screen was my husband's special project.  We have a projector hanging from the ceiling that projects onto the 95 inch screen.  The screen is painted on the wall using a special paint called Silver Screen which is supposed to be the perfect hue for a screen on the wall.  The cabinet was another difficult purchase as we had to find something that fit perfectly in the space and would hold all the equipment.  By making a few alterations to the cabinet once we got it home, we were able to make it work in the room.

The door to the left of the screen is for a little room that holds the sump pump and back-up emergency sump pump.  Hopefully, we will never have to deal with a flood again!

This area isn't as pretty, but it's the computer/gaming area for the husband.  I added my touch with a few baby photos to remind him who's upstairs while he plays!

Here's a better view of the projector on the ceiling and the surround speakers on the walls.

It's pretty amazing to see how this room was transformed in a short time and was all done by us!  From this mess...


...to this amazing room!

Thursday, September 12, 2013

New Doors & Gallery Wall Reveal

This has been a 2 year project that has taken many, many hours more hours than we ever planned.  All we originally wanted to do was decorate the nursery when I found out I was pregnant and then it turned into an entire house makeover!

The original thought was just to update the 70s features of the house like the nasty, orange-y doors white 6-panel doors.


As usual, our plan quickly turned into a lot more work as we realized that we should probably put up new white trim too.  If we're going to replace doors, we should probably do all 26, plus some of them are custom sizes so they need to be ordered.  If we do 6-panel doors, we probably should get new closet doors too, right?  So that's 4 more closets to add to the list!

So if we're going to do all that work, we might as well just paint the main hallways upstairs to something pretty to make all those new white doors and trim stand out instead of that stark white that was there when we bought the house.

So because we do everything ourselves and never pay anyone to help, these projects take months...and months...and months!  Plus, we had a newborn...and then toddler to take care of at the same time.  We ended up chosing this pretty sage green for the hallway because we liked the way it made the white trim stand out, and it's wasn't too bold or boring.

My favorite part is at the end when I get to decorate!  Bare walls were just not cutting it and I looked for wall art that appealed to me for months.  So instead, I decided to do a family gallery wall with photos showing off my little guy.  He also LOVES to walk by and look at the photos, so it's a great way to help him learn to say the names of everyone in our family.

It took me a few months to gather enough frames from random thrift stores and clearance sections, and then I spraypainted and/or hand-painted them in several different colors.  (The whole color scheme took me way to long to decide on!)


The final result is so much brighter and more fun!
Instead of hanging the frames right on the wall, I chose to hang wall shelves so I could switch out the frames and move things around any time I wanted.


This is the 12 month baby collage form the photos I took every month of Connor's first year.  You can see more details here.


I'm still working on perfecting the area, but it's a great start compared to where we were a couple years ago!

Related Posts with Thumbnails