Showing posts with label kitchen. Show all posts

Monday, July 28, 2014

DIY Recover Kitchen Chairs Makeover with Cute Vinyl Fabric


I'm so excited to show you this new project we just finished! 

Our kitchen table and chairs was supposed to be a temporary fix in our old house when it went on the market and we had a big empty space in our kitchen.  We bought the set for super cheap and planned to get rid of it within a year or two once we moved.  6 years later, we still have it in our kitchen and use it every day.  The microfiber chair pads have taken a beating from a messy toddler and they're not very easy to clean.  The picture below makes them look a lot nicer than they actually are.  They're dirty, crumbs stick to them, and there's more milk stains than we can count!

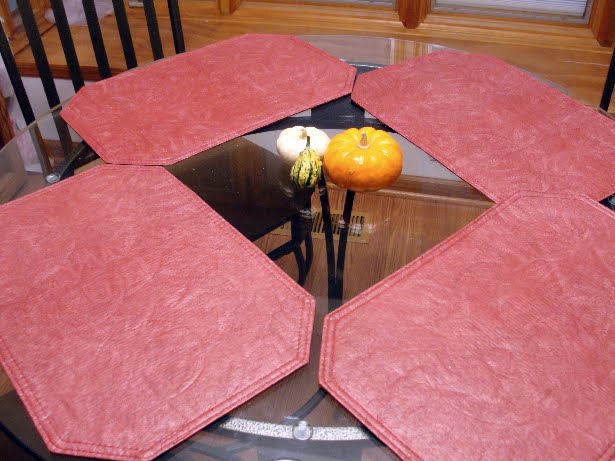
Here's the before photos so we can do a comparison after the makeover.

It took me so long to recover the chairs because I couldn't find fabric that I liked and would be easy to clean.  But when I saw this cute vinyl fabric from Hobby Lobby, I knew it would be perfect!  I had a little help from the husband with the staple gun and Caylee was a little spectator for the whole thing. 


You know your baby loves to sleep when she's passed out a foot away from a staple gun that keeps going off!

It only took about 2 hours to do the whole project and I love how they came out!

The fabric is perfect for messy kids and it looks really cute in the kitchen!

 I guess our kitchen set is going to last another few years until we finally decide to buy a new one!

Thursday, July 11, 2013

DIY Painted Beer Glasses (Mommy's Sippy Cup!)

I don't even remember where I got this idea, but I thought it was perfect for us.  When I spotted these beer glasses for 25 cents each, I decided it was the perfect excuse to paint some for us. 

This tutorial works with any design or text you'd like on your glass (or even wine glass or shot glass!), but I'm just showing how I did it using the sippy cup graphic and text.  I measured how much space I wanted to use on the glass and then printed out my graphic to fit.


There are a lot of different paint markers you can buy for painting on glass.  I ended up choosing these Sharpie oil-based paint markers because they had pretty good reviews online and I like the marker better than working with a paintbrush.

If you decide to paint glasses, I'd suggest practicing a little until you get the hang of working on glass and getting used to the thickness.  I used an old spaghetti sauce jar to practice on.
I taped my graphics to the inside of the cup and then started painting with the pink.

Once the pink was dry, I painted with the black marker for the outline and the text.  To make the text perfect, I waited for it to dry and then went back to do some touch-ups later.

The final result is really cute!  I kinda don't even want to use them in case they get ruined!

Wednesday, February 9, 2011

Placemat Makeover

We have a glass kitchen table and it gets scratched really easily. I like to keep placemats on it to keep it a little more covered. We've had these nasty red plastic ones that I got at Big Lots a few years ago and I always meant to buy new ones. (Don't make fun of me, I took this photo back in the fall.)
I haven't really seen anything I like that much in the stores and I want them to be wipeable in case we spill. So I found these wooden weaved mats at Joanns on clearance for $1! Cute, but they don't match at all. I primed and spray painted them and then added a glossy finishing coat.
Here they are on the table! SO much better and much more modern!


Sunday, November 15, 2009

Honey? Are the dishes clean or dirty?

I don't know about you, but this is a common problem in our house. Just last week we accidentally ran the dishwasher twice in one day because someone didn't know if the dishes in there were clean or dirty.

Solution? A cheap, fun sign!

Supplies:
paint
paintbrush
thin wood rectangle or other shape
mod podge (clear)
scrapbook paper
magnet stickers
optional: cute stickers or glitter

Paint your wood shape. It would also be cute to use an apple or cherry shaped piece of wood since it will be hung in the kitchen.


Measure and cut out scrapbook paper to cover the wood piece. Spread mod podge on the back of the scrapbook paper.
Press paper onto your wood piece. Make sure to smooth out any wrinkles or bubbles. They're hard to get out later and it's worth it to spend the extra time on this.

When your paper dried, put a thin coat add mod podge on the top of the scrapbook paper. Don't worry, it will dry clear. Just make sure you don't leave any big globs of mod podge.

Add your "clean" and "dirty" letters with a marker or print them using a fun font on the computer. If you print them, use the same mod podge method to glue them on.

Some cute stickers or glitter would be cute if you want to dress up your sign.

When everything dries, add 2 small magnets to the back. I bought the magnet sheets that are sticky on one side, so they're super easy to use.

Hang it up and beg your family members to use it!

Related Posts with Thumbnails