
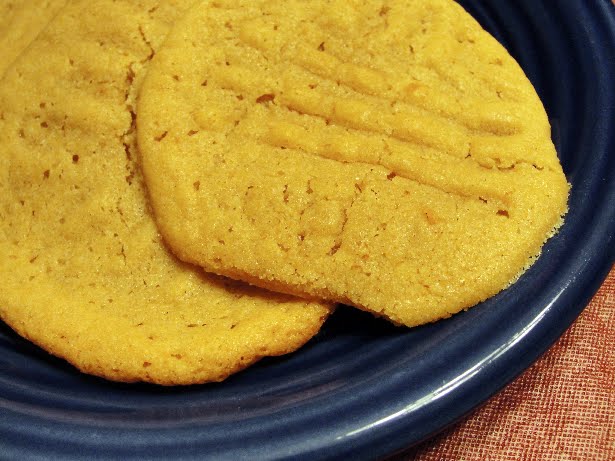
 Hubby has figured out a new trick: we can pretty much make cookies any time we want just from the random stuff we have in the house. He knows I LOVE dessert so it's hard for me to refuse when he wants to bake for me! Anyway, he made these really yummy peanut butter cookies the other day and I had to share them with you.
Ingredients:
• 1 c sugar
• 1/2 c butter
• 1/2 c peanut butter
• 1 egg
• 1 1/4 c flour
• 3/4 t baking soda
• 1/2 t baking powder
• 1/4 t salt
Preheat the oven to 300.
Mix all ingredients in a large bowl.
Form a ball with the dough and wrap in plastic. Refrigerate the ball for at least 30 minutes.
When you're ready to bake the cookies, use a tablespoon to create small balls of cookie dough and place on a lightly-greased baking sheet.
Bake at 300 for 10-15 minutes or until golden brown.
 These are amazing dipped in cold milk!