Wednesday, December 14, 2011

Edible Marshmallow Hanukkah Dreidels

Hanukkah is coming soon! I'm very excited this year because it's Connor first Festival of Lights! It's also later this year so it makes things a lot easier for me and I feel like I can get more into the holiday spirit.

I have a lot of coworkers that celebrate Christmas and don't know very much about Jewish holidays. Since we're taking turns bringing in holiday treats every day for the next 2 weeks, I decided to make mine into a mini teaching lesson as well as a tasty treat.

Edible Dreidels!
Thanks to Danielle at Mostly Food & Crafts for this idea I saved from last year. All you need are marshmallows, thin pretzel sticks, peanut butter, and Hershey kisses.

And if you're interested in more info about the dreidel or how to play the dreidel game, go here

Monday, December 12, 2011

Easy 50¢ Snowflake Ornaments

I was looking for some easy ornament gifts for family members to show off Connor's holiday photos. When I was at Joanns, I noticed these felt snowflakes and rhinestone stickers for $1 each.

To turn the snowflake into a frame opening, I cut out the middle section. The left snowflake shows how they looked when I bought them and the right snowflake shows how I cut out the middle.
Then I used the little rhinestones to accessorize the snowflake because...well, why not?

To make a backing for the frame, I used some white glitter felt and traced around the snowflake shape.

The turned out to be stars which is kinda cute!

Then I traced around the snowflake again so I would have the right size photo for the opening.

I glued the back of the photo to the felt star backing using some Elmer's glue.

And then I glued the photo onto the back of the snowflake and let it dry. I had to glue the corners again just to keep the edges down.

Using a large needle, I added a silver ribbon to the top of the snowflake.

Because I'm a crafty hoarder, I save old holiday cards. I found a glitter snowflake one and cut out a little piece to use as a label on the back of the frame.

We don't have a tree up this year (sad face), so I don't have any fun photos of it on a tree branch. But I'm sure it will look nice on the trees of the family members that get one!

Thursday, December 8, 2011

My Favorite Hanukkah Projects

In honor of Hanukkah coming up, I wanted to share some of my favorite Hanukkah posts from the past few years. Those of you who celebrate know it's challenging to find fun crafts and decor ideas when everything is Christmas. Hope this helps spark some ideas!

Spin the Dreidel Wood Blocks

Monday, December 5, 2011

Sew a Baby Santa Hat

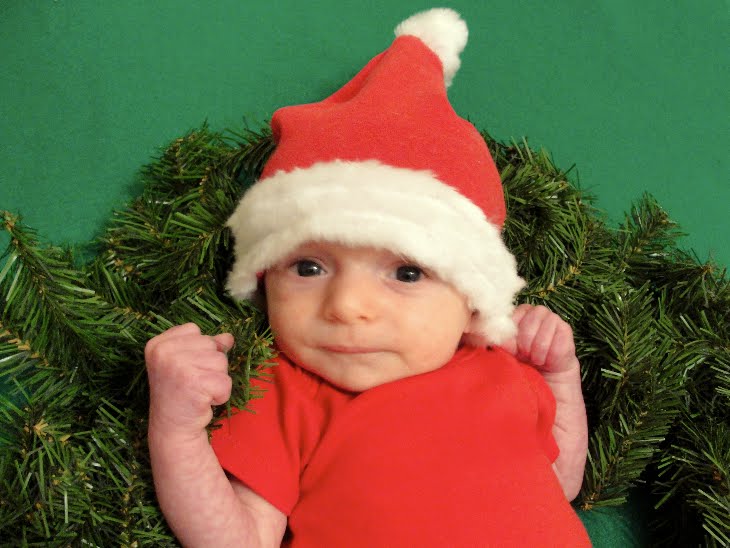
Here's a secret: I have an obsession with dressing my baby up in cute outfits and taking photos. The best part about little ones is that you can dress them up however you want! Maybe he'll be embarrassed in 10 years, but for right now, I love it. This little Santa hat was really easy to make and it was nice to have a hat that actually fit his little head!

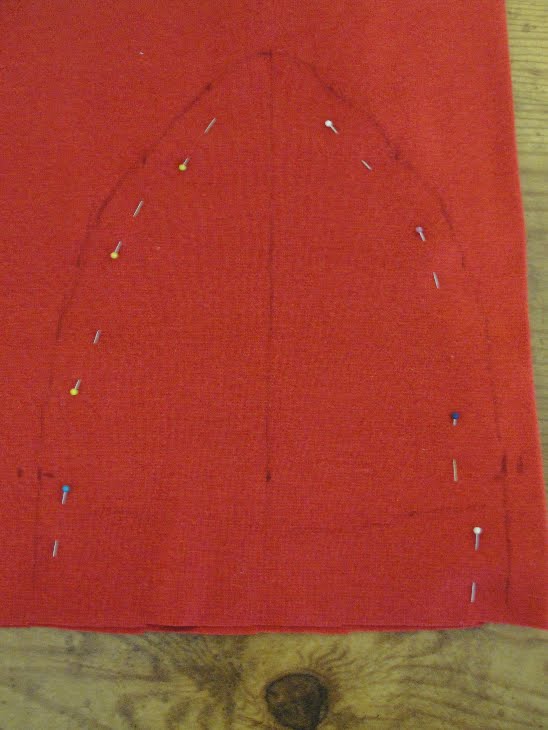
To make sure the hat fit, I used one of his other hats as a template on 2 pieces of stretchy red knit fabric.

I traced around the hat and then altered the design slightly to be more of a Santa hat shape.

Then I cut it out and sewing around the edge, but left an opening at the top for the furry ball.

I had a small piece of white fur left over from my fur-trimmed tree skirt I made last year and it worked perfectly for this hat.
I folded up the bottom edge of the hat and sewed around it.

Then I added some fur trim along the edge and sewed it on.

For the puff at the top, I took a small piece of fur and rolled it into a thin cylinder. I quickly hand-stitched it closed so it wouldn't unravel.
The fur roll got placed in the opening at the top of the hat and I used the sewing machine to attach it.

Just to add a little more fur, I sewed on another thin strip along the top.

And here's my little elf! Not so happy here, but he's still cute!

That pacifier always solves the problem : )
Related Posts with Thumbnails